

Table of Contents
I wish I could make my own? That’s the magic of Croc Jibbitz—those playful little accessories that turn your everyday clogs into wearable stories. In this guide, "How to Make Your Own Croc Jibbitz?", I’m going to show you how to create custom designs that stand out from the store-bought crowd. No more scrambling to find the perfect charm; you’ll be making them yourself.

All you need are a few simple materials, a bit of creativity, and a splash of personality. Polymer clay, Shrinky Dinks, and some decorative gems are just a few of the goodies you’ll work with. As the saying goes, "Why fit in when you were born to stand out?" Custom Jibbitz let you do exactly that, and I'll walk you through it step by step.
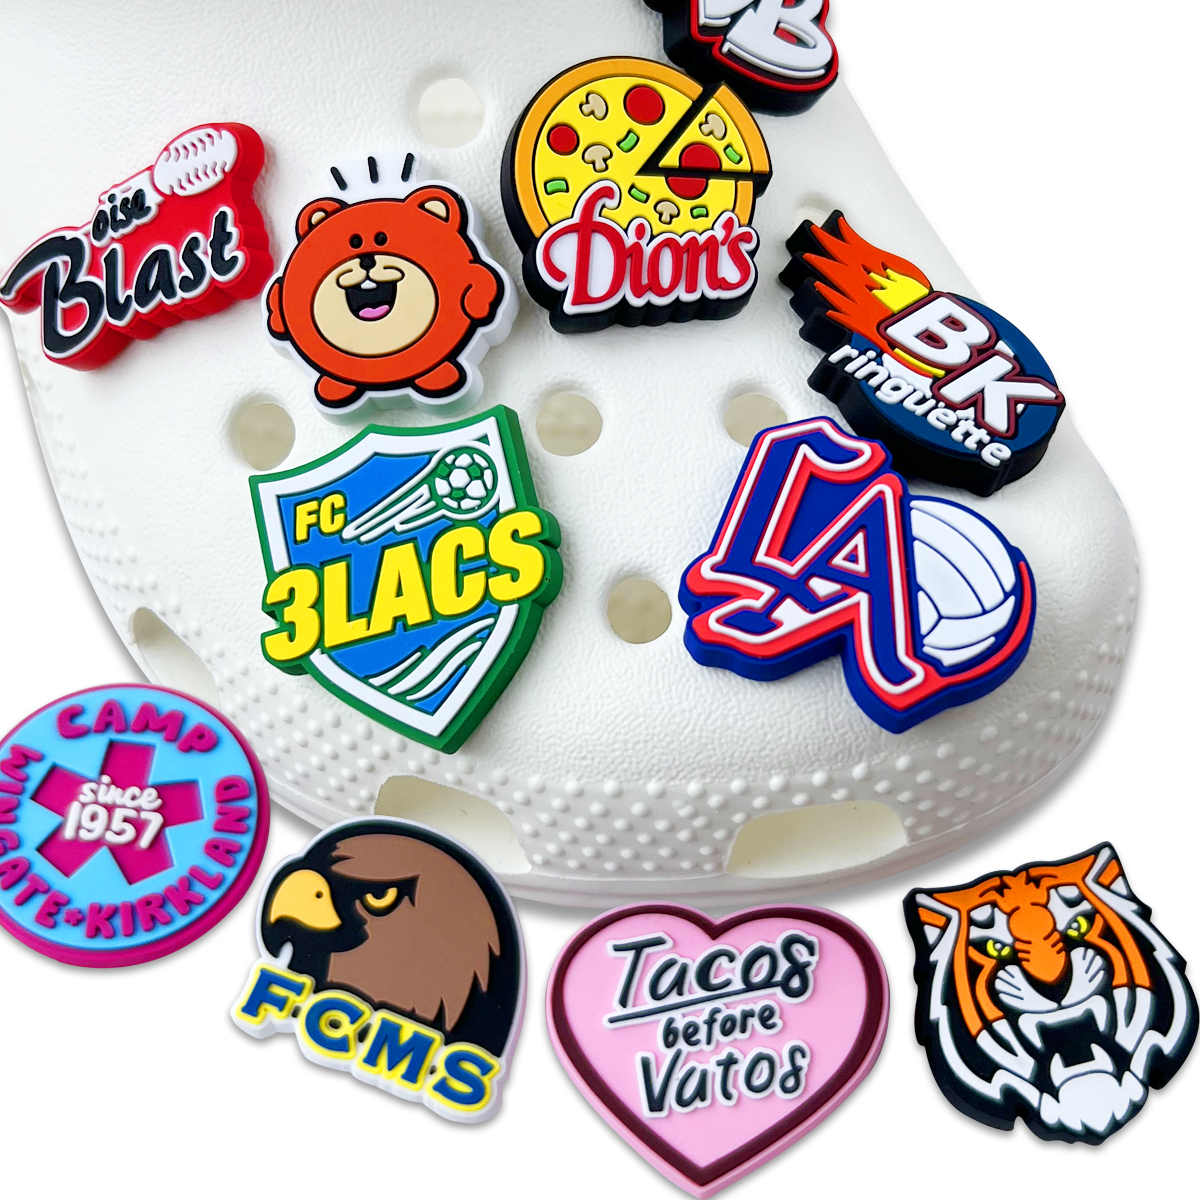
Croc Jibbitz are tiny, decorative charms specifically designed to snap into the holes of Crocs shoes. Born out of a simple idea in 2005, Jibbitz transformed the way people interacted with their footwear. Sheri Schmelzer, a mother of three, first created Jibbitz for her children’s Crocs by handcrafting charms that fit snugly into the shoe’s perforations. This small gesture of personalization quickly captured the attention of Crocs Inc., leading to a $10 million acquisition just months later. Today, Jibbitz are available in countless designs—ranging from favorite cartoon characters to glittering gemstones—making them a unique form of self-expression.
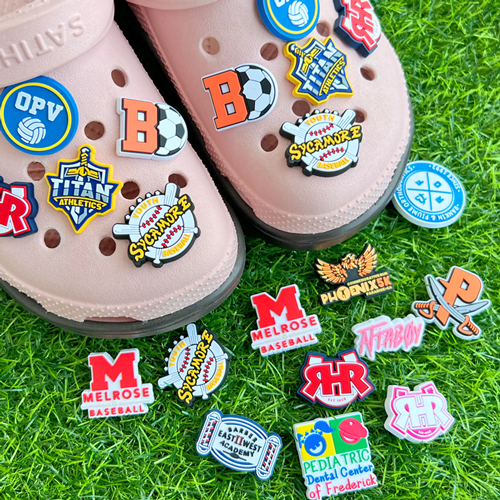
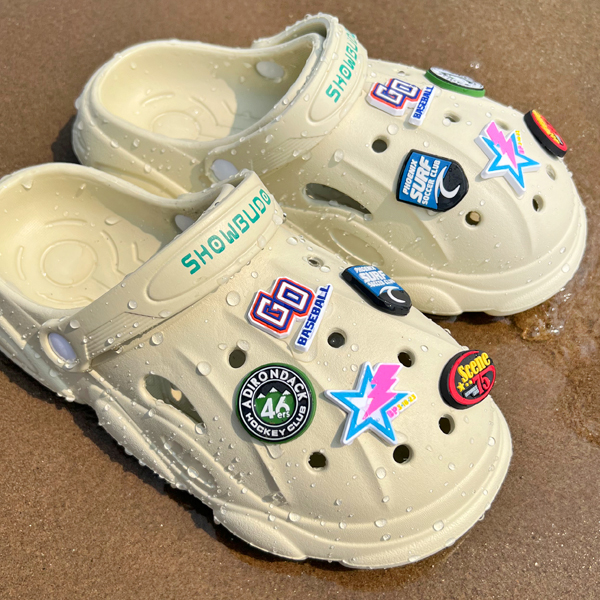
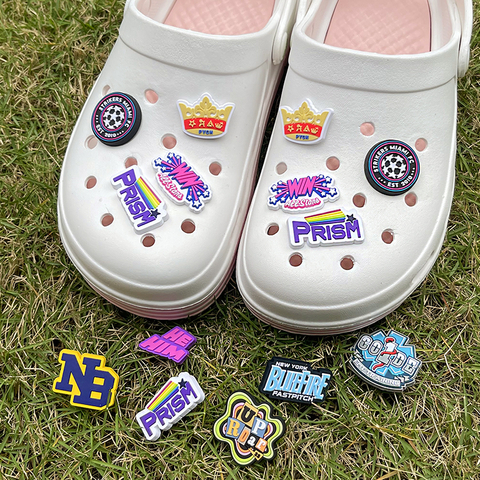
The appeal of Croc Jibbitz lies in their customization and collectibility. Unlike many other accessories, Jibbitz allow users to change the appearance of their Crocs instantly. Whether it is a beach-themed set for summer vibes or superhero emblems for comic fans, the options are nearly limitless. In fact, Crocs enthusiasts often trade and collect Jibbitz, turning them into a form of wearable nostalgia. This element of personalization resonates particularly well with younger audiences who seek individuality in their fashion choices.

Industry experts have noted that the success of Jibbitz reflects a broader trend in personalized fashion. According to a study by Grand View Research, the global market for customized accessories is expected to grow at a rapid pace, driven by consumers’ desire for products that reflect their personal identity. Crocs’ integration of Jibbitz is a prime example of how brands can leverage customization to enhance brand loyalty.
Crocs themselves have also contributed to the rise of Jibbitz as cultural icons. Popular celebrities such as Post Malone, Justin Bieber, and Bad Bunny have been spotted sporting custom Jibbitz on their Crocs, further propelling the trend into the mainstream. Their public endorsements have not only validated Crocs as fashionable but have also elevated Jibbitz as collectibles with cultural significance.
Ultimately, the popularity of Croc Jibbitz is a testament to the power of personal expression. In a world where fashion is increasingly used as a platform for individuality, Jibbitz offer a simple yet profound way for people to display their passions, memories, and even their sense of humor—all with a quick snap onto their favorite pair of Crocs.
Creating durable and eye-catching Croc Jibbitz starts with the right materials and tools. Here’s everything you need to know!
The key to durable Jibbitz lies in the right materials. Some of the best options include:
PVC (Polyvinyl Chloride): Flexible and highly durable.
Silicone: Waterproof and long-lasting. Perfect for outdoor use.
Resin: Excellent for detailed designs and glossy finishes.
Rubber: Shock-absorbent and wear-resistant.
Vinyl: Great for vibrant colors and UV resistance.

| Material | Durability (Years) | Flexibility |
|---|---|---|
| PVC | 5 - 7 | High |
| Silicone | 8 - 10 | Very High |
| Resin | 4 - 6 | Medium |
| Rubber | 3 - 5 | High |
| Vinyl | 6 - 8 | Medium |
When picking materials, consider longevity and resistance to wear. Choose wisely!
To craft high-quality Jibbitz, you’ll need the right tools:
Mold Making Tools – For shaping perfect designs.
Resin Casting Kits – Achieve smooth finishes.
Pliers and Cutters – Trim excess material and secure backings.
Glue Gun and Drill – Attach components securely.
Sandpaper and Polishing Tools – Smooth out rough edges.
Safety Equipment: Always protect your hands and eyes when crafting.
"Good tools make good crafts" — investing in quality tools is investing in better Jibbitz!

Finding top-notch materials doesn’t have to be a wild goose chase. Here’s where to look:
Local Craft Stores: Perfect for last-minute supplies and small batches.
Online Retailers: Amazon, Etsy, and Alibaba for bulk orders.
Wholesale Suppliers: Great for cost-effective bulk buying.
Art Supply Stores: Specialized materials like resin, molds, and polymer clay.
Community Marketplaces: Facebook Marketplace and Craigslist sometimes have hidden gems!
Look for customer reviews and supplier ratings to avoid dodgy materials. Get the good stuff, and your Jibbitz will last!
Shrinky Dinks are a fun and easy way to make custom Croc Jibbitz! With just a few tools, you can turn your artwork into durable shoe charms.
Creating Jibbitz with Shrinky Dinks starts with designing. Here's how to get your creative juices flowing:
Choose Your Design: Sketch your ideas on paper or directly on the plastic sheets.
Trace or Freehand: If you're not confident in drawing, trace patterns with markers or colored pencils.
Coloring Techniques: Use permanent markers for bold colors or colored pencils for a softer look.
Size Matters: Remember, Shrinky Dinks shrink to about 1/3 their original size when baked.

💡 Pro Tip: For intricate designs, try layering colors and patterns—what looks simple will pop once shrunk!
After designing, it's time to bring your artwork to life through baking:
Preheat Your Oven: Set it to 325°F (163°C).
Prepare the Baking Sheet: Use parchment paper to prevent sticking.
Bake Your Design: Place the Shrinky Dinks on the sheet, art side up, and bake for 2–3 minutes.
They will curl up—don’t worry, that’s normal!
Wait until they flatten back down.
Cool and Seal: Let the charms cool completely, then apply a clear sealant for protection.
Attach the Backing: Use a strong adhesive to fix the Jibbitz backing.

🔍 Fun Fact: "Shrinky Dinks are made of polystyrene, the same plastic used for disposable food containers."
Polymer clay is incredibly versatile, making it ideal for crafting custom Croc Jibbitz. Learn how to choose, shape, bake, and finish your designs with professional techniques.
Not all polymer clay is created equal. Popular brands like Sculpey, Fimo, Premo, Cernit, and Kato offer varying softness, durability, and color ranges. For beginners, Sculpey is great due to its softness, while Kato is preferred for its strength.
Sculpey: Soft and easy to condition, ideal for basic designs.
Fimo Professional: Holds detail well, perfect for intricate designs.
Premo: Excellent color blending and flexibility.
Cernit: Translucent and great for faux stone effects.
Kato: Tough and durable, perfect for projects that need strength.
To make your Jibbitz pop, mastering shaping techniques is crucial. Here are some top methods:
Blending and Smoothing: Use sculpting tools or your fingers to smooth edges and blend seams.
Texture and Detail: Create realistic surfaces with molds or textured stamps.
Armature Support: For larger designs, use a wire armature to maintain structure.
Canes and Slices: Stack clay layers to create intricate designs, then slice for perfect replicas.

Pro Tip: Add tiny details like wrinkles or scales using a fine-point sculpting tool.
Baking is where your designs transform from soft clay to sturdy charms. Here’s how to get it right:
Temperature Control: Always follow brand-specific baking temperatures (e.g., Sculpey at 130°C).
Oven Thermometer: Essential to prevent underbaking or burning.
Ventilation: Ensure proper airflow; polymer clay releases fumes when baking.
Avoid Cracking: Gradually heat the oven—never preheat with clay inside.
| Brand | Baking Temperature | Baking Time |
|---|---|---|
| Sculpey | 130°C (275°F) | 15–30 mins |
| Fimo | 110°C (230°F) | 30 mins |
| Kato | 150°C (302°F) | 10–15 mins |
| Premo | 130°C (275°F) | 30 mins |
Painting and varnishing elevate your Jibbitz to a professional level. Here’s the breakdown:
Painting: Use acrylic paints for vibrant colors that bond well with polymer clay.
Sealing and Finishing: Choose between matte, gloss, or satin finishes for your look.
Gloss: Perfect for a shiny, eye-catching look.
Matte: Ideal for realistic, soft textures.
Application Tips: Apply thin, even coats to prevent streaking.
Elevate your Croc Jibbitz with unique decorations! Here’s how to select the best elements, attach them securely, and create stunning patterns.
Finding the right decorative elements for your Jibbitz is key to achieving that eye-catching look. Choose from:
Gems and rhinestones for a sparkling finish.
Buttons and beads to add character and texture.
Mini charms and trinkets for a themed or personalized touch.
Metal studs and pearls for a bit of edgy flair.
When selecting materials, prioritize durability and compatibility with Croc surfaces to ensure long-lasting charm. As designer Kate Spade once said, "Accessories are the exclamation point of a woman’s outfit." The same goes for Jibbitz!

To attach gems safely and securely to your Jibbitz:
Select the Right Adhesive – Use E6000 industrial glue or UV resin for a strong bond.
Prepare the Surface – Clean your Jibbitz with a bit of alcohol to remove dust or oil.
Apply Sparingly – Too much glue can cause cloudiness; a drop is usually enough.
Position and Press – Hold the gem in place for 15–20 seconds for better adhesion.
Pro Tip: Avoid hot glue—it can warp plastic charms and weaken the bond over time.

Designing with buttons and beads gives your Jibbitz a pop of color and personality:
Button Arrangements – Combine small and large buttons in concentric circles for a bold look.
Bead Layouts – Use seed beads to outline designs or create geometric shapes.
Layering Techniques – Stack different elements to add depth and dimension.
Here's a quick reference for common layout ideas:
| Design Type | Description | Best Used With |
|---|---|---|
| Geometric Patterns | Symmetrical designs with beads | Metallic or neon finishes |
| Floral Layout | Button petals around a bead center | Pastel or vibrant colors |
| Minimalist Lines | Single-line bead arrangements | Monochromatic themes |
Attaching Jibbitz backings to your Crocs might seem simple, but doing it correctly ensures they stay secure and last as long as possible. I had the chance to speak with Sarah Collins, a seasoned Crocs enthusiast and DIY expert, who shared her tried-and-true techniques for flawless Jibbitz attachment. “The key is all about alignment and gentle pressure,” she said with a confident smile. Her experience shines through every tip she gives, making it clear that there is a bit of artistry to getting it just right.
Before starting, Sarah emphasized the importance of checking the Jibbitz charm and its backing. “You want to make sure there are no cracks or weak spots on the backing itself,” she explained. A damaged backing can lead to poor attachment or even cause it to fall out of the Crocs holes during wear.
Sarah pointed out that proper alignment is crucial. “If it is off-center, you are going to have trouble getting it in smoothly,” she noted. She recommends holding the charm steady and finding the perfect match with the Crocs hole before applying any pressure. This step avoids the risk of damaging the rubber material around the hole.
Pushing the Jibbitz backing into the Crocs requires just the right amount of pressure. “Too much force can stretch the rubber, while too little will not lock it in place,” Sarah shared. She uses a slow, steady push to get the backing through the hole, listening for the soft ‘pop’ that signals a secure fit.
Once the Jibbitz is inserted, Sarah always gives it a light tug. “You want to feel that it is snug. If it wiggles or seems loose, it is not fully seated,” she advised. In such cases, she suggests pressing down around the edges to ensure everything is properly aligned and locked.
Making your own Croc Jibbitz isn’t just about decorating shoes—it's about putting a little bit of you into every step. From picking the right materials to mastering those Shrinky Dinks and polymer clay techniques, you now have everything you need to turn simple charms into showstoppers. And with a splash of gems and the perfect backing, your Crocs are ready to shine.
As designer Rachel Zoe famously said, "Style is a way to say who you are without having to speak." Your Jibbitz are that statement—fun, bold, and unmistakably yours.
Polymer Clay – It's flexible and strong after baking.
Shrinky Dinks – Easy to design and bake into solid, lightweight charms.
Resin – Creates a glossy, waterproof finish that’s long-lasting.
Acrylic Paint and Sealant – Adds color and protects designs from wear.
Yes, you can! If you’re just starting, basic household items can be used:
For a more professional finish, though, investing in proper molds and cutters is recommended.
Scissors for cutting designs.
A kitchen oven for baking Shrinky Dinks or polymer clay.
Strong glue for attaching backings.
Paintbrushes for adding color.
The time can vary depending on the method:
If you plan your designs ahead, the process becomes much faster!
Shrinky Dinks: Around 30–45 minutes, including design and baking.
Polymer Clay: 1–2 hours, considering sculpting and baking time.
Resin Charms: 24 hours for curing completely.
It’s highly recommended! Sealing your Jibbitz:
You can use clear acrylic spray or resin for the best results.
Protects against water and dust.
Prevents paint from chipping.
Enhances the color and adds a glossy finish.
Absolutely! Many crafters sell custom-made Jibbitz online and at local markets. Just keep in mind:
Using branded logos or copyrighted designs might require permission.
Etsy, eBay, and local craft fairs are great places to start.
High-quality photos of your Jibbitz will help attract buyers.
Acrylic paint works best for most Jibbitz materials. It’s vibrant, dries quickly, and adheres well to both polymer clay and Shrinky Dinks. To ensure it lasts, apply a clear sealant after the paint is fully dry.
To securely attach backings:
Use strong adhesive glue like E6000 or Gorilla Glue.
Let it dry completely before use (at least 24 hours).
For polymer clay, consider embedding the backing during the baking process for extra hold.
Yes, especially when working with materials like resin or clay:
Use gloves when handling resin—it can irritate the skin.
Ensure proper ventilation when baking polymer clay.
Avoid using your food oven for clay if possible; separate craft ovens are safer.
Of course! Custom Jibbitz make excellent personalized gifts or themed charms for events like:
The possibilities are endless, and it’s a great way to showcase creativity!
Weddings and birthday parties – matching colors or initials.
School events or team sports – mascot or logo designs.
Holiday themes – Halloween, Christmas, and more.

Join our newsletter
Let's be friends with benefits
Be the first to get product launches, discounts and
exclusive content straight to your inbox.

SHOPZENMA
Office Hours: Mon- Fri 9 AM - 5 PM (EST)
Contact Us
[email protected]
