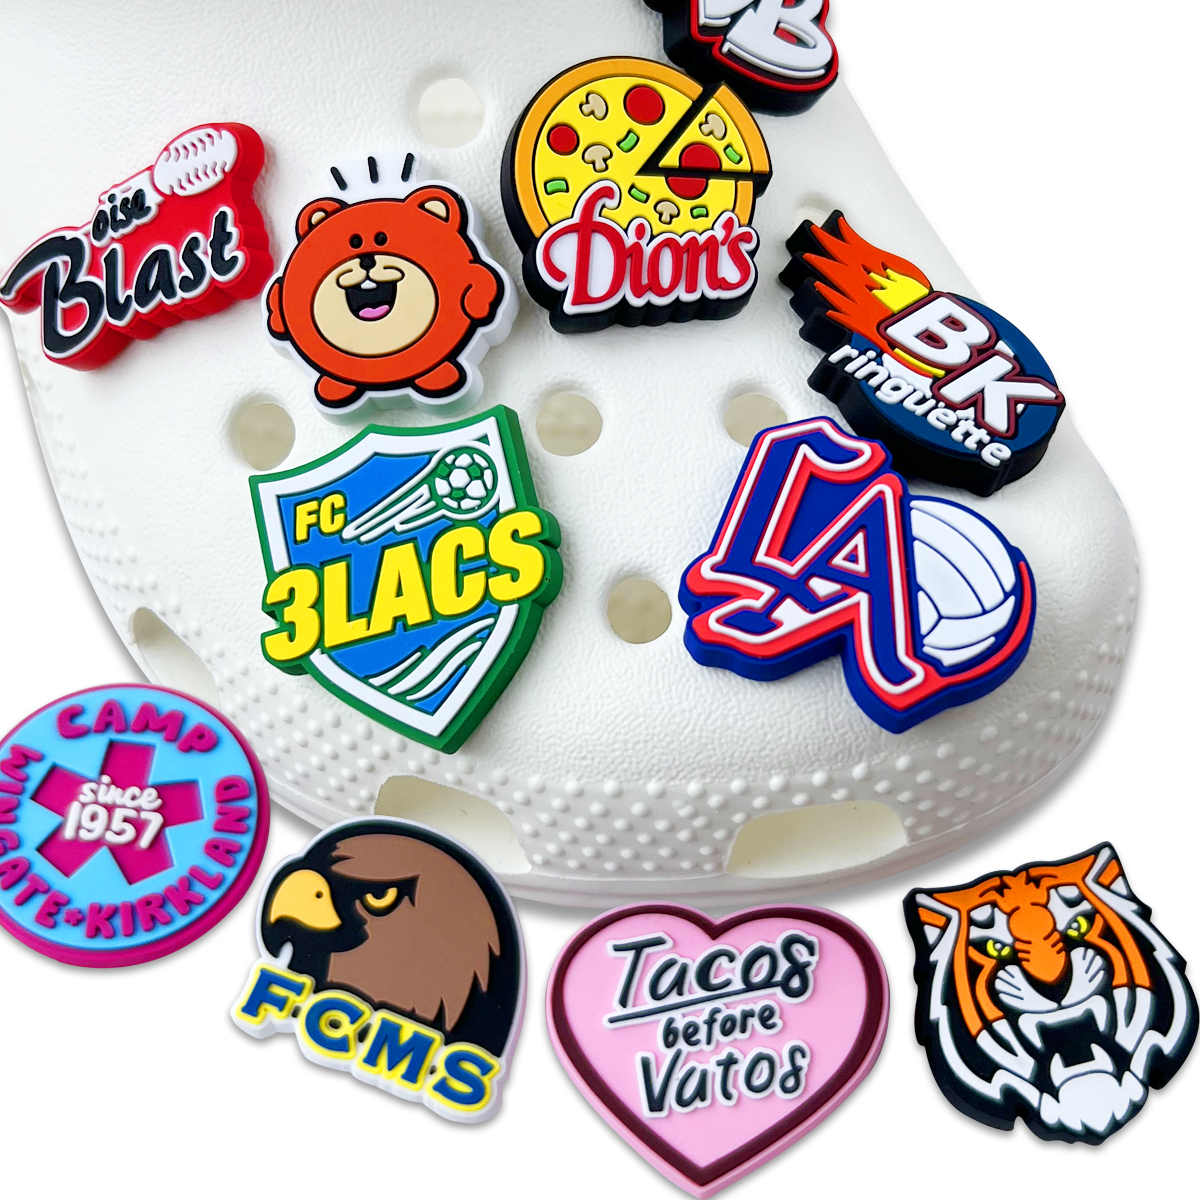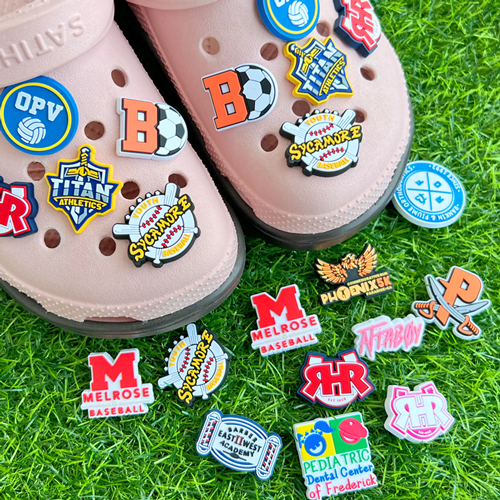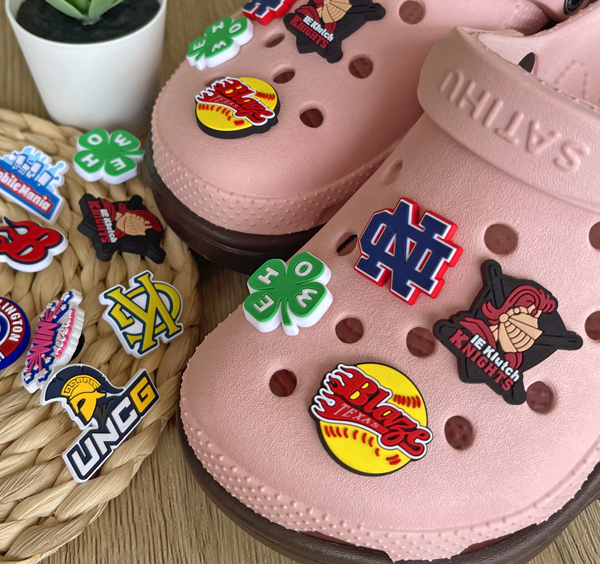
Ever looked down at your Crocs and thought, “These could use a little personality”? You’re not alone. In How to Make My Own Croc Charms?, we’ll walk you through how to jazz up your kicks with fun, budget-friendly flair—no art degree needed. From hockey moms to high schoolers, Canadians everywhere are adding a personal twist to their clogs, and it’s easier than you might think.
Making your own charms is like crafting wearable mini-murals—only faster and way more fun. “DIY accessories are the new frontier of self-expression,” says craft blogger Megan Weller. And she's bang on. All you really need is the right material, a bit of creativity, and a charm base that fits like a glove.
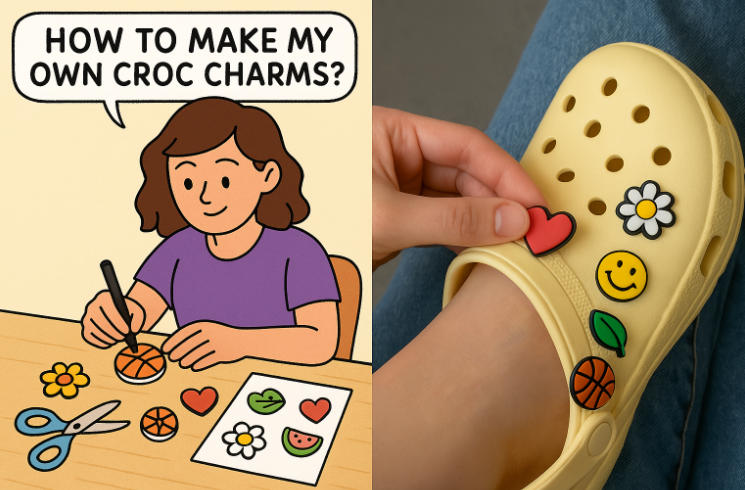
This guide will help you pick the right supplies, try beginner-proof methods, and even get your charms to stick through daily wear. Let’s get those Crocs poppin’.
Choosing the right material is the first step in making perfect Croc charms. Here’s a breakdown of beginner-friendly, fun, and creative options.
Polymer clay is a go-to for many beginners because it’s easy to shape, bake, and customize.
Start with starter kits that include conditioning clay and basic sculpting tools.
Make simple designs like hearts, stars, or fruit slices.
Bake in a home oven at ~130°C (275°F) for 15–30 minutes.
Pro tip: Use jewelry-making tutorials to repurpose your clay charms into earrings or beads too!
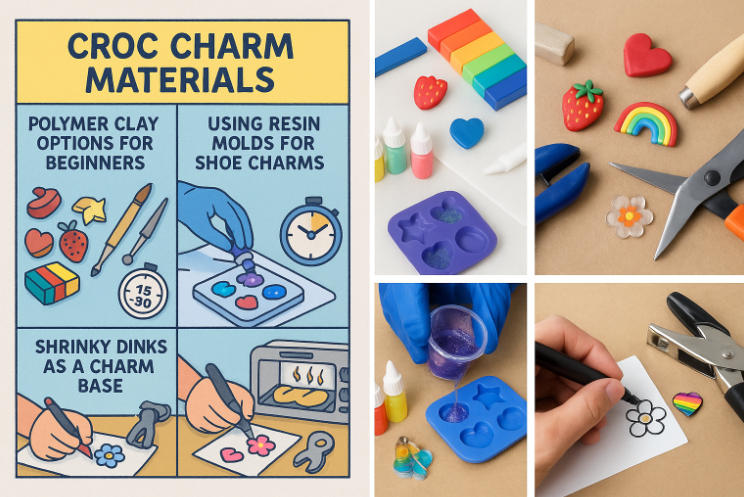
Resin casting takes your DIY Croc charms to the next level with clear, glossy finishes and endless color options. Here's a quick guide:
Pick silicone molds designed for small shapes.
Mix epoxy or UV resin with pigments or glitter.
Pour, cure (under UV lamp or over time), and demold carefully.
Add jewelry findings to convert them into wearable shoe charms.
Safety Tip:Always wear gloves and work in a well-ventilated area when handling resins.
Shrinky Dinks? Oh yeah—they're not just for kids anymore. These plastic sheets are actually super clutch for custom charm-making.
Draw your design with markers or colored pencils.
Punch a hole before shrinking (don't forget this part, trust me).
Pop 'em in the oven and watch the shrinking process do its thing!
Once cooled, you've got mini, sturdy charms ready for Crocs, keychains, or even zipper pulls.
Perfect for folks who like doodling or need a low-mess project.
Before making Croc charms, you’ll need the right base to attach them. This cluster helps you understand backing types and where to buy them.
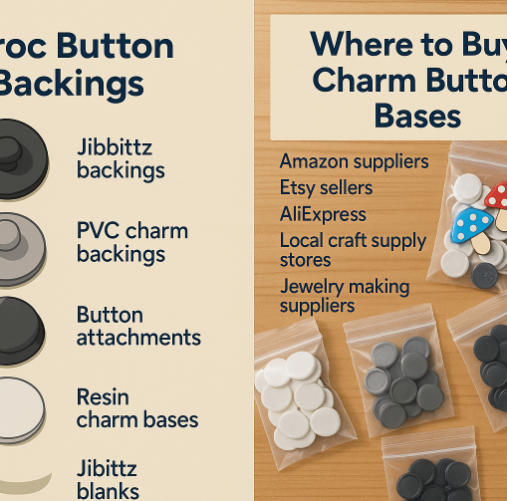
Not all Jibbitz backings are made equal — and picking the right one keeps your DIY charms from popping off mid-walk. Here’s a quick breakdown:
Jibbitz backings: Official and perfectly sized for Crocs’ holes.
PVC charm backings: Flexible and great for handmade resin charms.
Button attachments: Snaps or plugs that push in and stay secure.
Resin charm bases: Ideal for heavier or custom designs.
Jibbitz blanks: Flat tops ready for decorating with clay or stickers.
“Always match your charm weight to the backing type,” says Melissa Tan, DIY footwear designer at SoleMade Studio.
Whether you’re crafting for fun or for Etsy sales, finding quality charm button bases is key. Luckily, there’s no shortage of spots to shop:
Amazon suppliers – Great for starter packs with fast shipping.
Etsy sellers – Offer creative Jibbitz blanks in fun shapes.
AliExpress – Cheap bulk deals, though shipping takes time.
Local craft supply stores – Handy for quick DIY projects.
Jewelry making suppliers – Great for resin-compatible bases.
Want premium? Check out niche charm component retailers that specialize in button blank vendors for consistent quality.
When it comes to crafting your own Croc charms, the decision often comes down to two fan favourites: polymer clay and Shrinky Dinks. Each has its loyal supporters. To bring clarity, we sat down with Leah Fontaine, a Toronto-based charm maker with over 8,000 Etsy sales and five years of experience in DIY accessories. Her studio shelves are stacked with tools, and her charm trays are a vibrant mix of both materials.
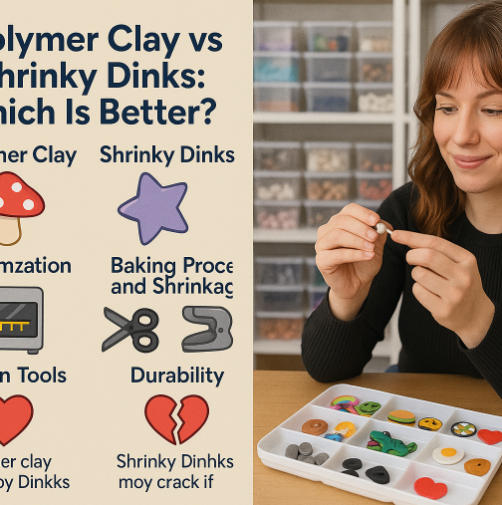
“Polymer clay gives me control over shape and texture,” Leah shares, lifting a tiny coffee cup charm baked from clay. “Shrinky Dinks are faster, especially for batch orders. It depends on the look and timeline.”
Here is how the two materials compare:
Polymer clay allows for sculpted designs, 3D effects, and layering.
Shrinky Dinks rely on 2D drawing and colouring but can still achieve vibrant results with the right pens and sealants.
Clay bakes slowly at a steady temperature, preserving size.
Shrinky Dinks shrink dramatically during baking, which can cause warping if not monitored.
Clay often requires more tools: sculpting sets, ovens, sealants.
Shrinky Dinks need fewer tools, just scissors, hole punch, and a baking tray.
Polymer clay charms are known to last longer and resist breakage.
Shrinky Dinks may crack if too thin or improperly sealed.
Notably, Sculpey’s Premo Polymer Clay received the 2024 Crafters’ Choice Award for best crafting material, while Grafix Shrink Film was highlighted in Crafts Magazine Canada for best DIY for kids.
So which one is better? It truly comes down to your crafting goals. Do you prefer precision and structure, or ease and speed? Either way, both materials hold strong reputations in the Croc charm community.
As Leah puts it, “They both belong in any charm maker’s toolbox.”
Using Cricut to make your own Croc charms? Here's how to nail it—clean cuts, solid materials, and design setups that work.
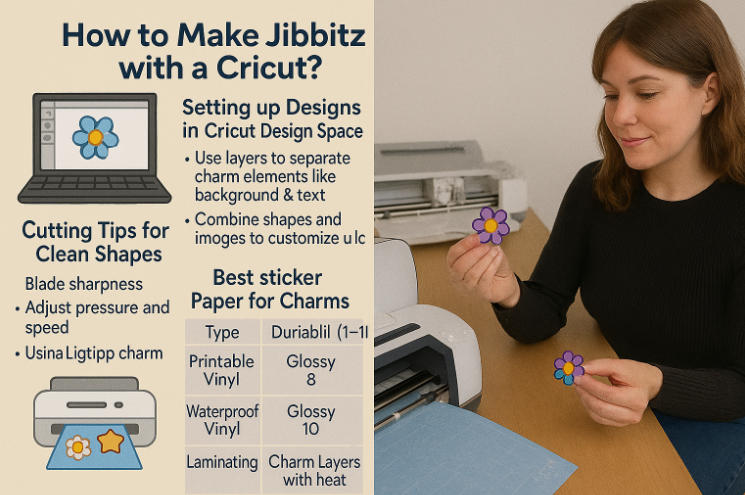
Designing in Cricut Design Space starts with uploading your SVG or choosing a template from the canvas.
Use layers to separate charm elements like background and text.
Combine shapes and images to customize your look.
For best results, avoid overly thin fonts and group elements before cutting.
"Keep it bold, simple, and stacked right—Cricut loves clean files." – Anna Lopez, Cricut Educator
Choosing sticker paper matters for both quality and charm durability. Look for these features:
| Type | Finish | Durability (1–10) |
|---|---|---|
| Printable Vinyl | Glossy | 8 |
| Matte Sticker | Matte | 6 |
| Waterproof Vinyl | Glossy | 10 |
Printable vinyl is the go-to for long-lasting, vibrant charms.
Inkjet vs laser? Match the paper to your printer, or it won’t stick—or worse, smudge.
Blade sharpness is everything. Dull blades ruin edges—swap regularly.
Adjust pressure and speed settings based on material thickness.
Use a LightGrip mat for vinyl and sticker paper to avoid tearing.
Do a test cut—seriously, it saves frustration.
Master the art of weeding to remove excess material without damage.
Let’s be real—if you want your charms to last longer than your weekend plans, laminating is key.
Laminator or heat press? Both work. Use laminating pouches or film sheets.
Set your temperature to around 280–300°F, and press gently for 10–15 seconds.
This seals the charm and boosts protection against water and fading.
Pro tip: Stack your layers neatly before sealing—no one likes a warped charm.
Ready to craft your first Croc charm? This section walks you through the essential steps to go from raw materials to finished, wearable art.
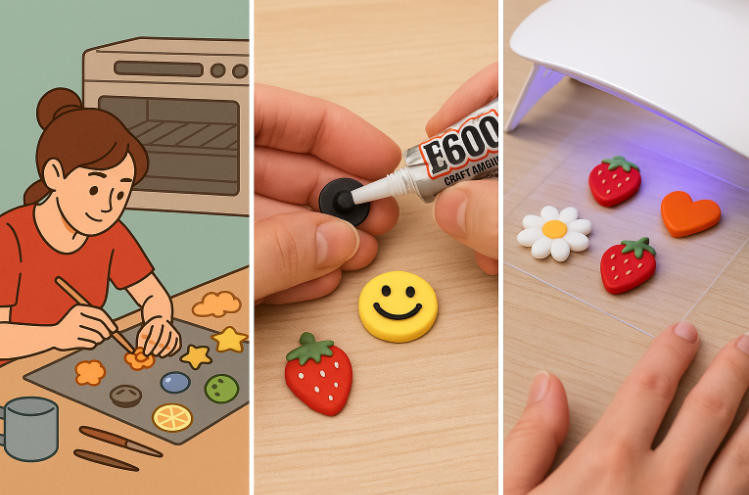
Proper conditioning and shaping of polymer clay is key to charm quality. Use shaping tools to form smooth, detailed models. Always follow baking instructions—usually 260–275°F (125–135°C) for 15–30 minutes depending on clay type and thickness. Overbaking causes brittleness, while underbaking results in soft or crumbly pieces. Want sharper results? Pre-plan your charm design, use a smooth surface, and let pieces cool completely before handling.
“Condition your clay like your skin—warm, even, and ready to work,” says Tina Samuels, a polymer crafting expert.
Once the charms are baked and cooled, it’s time for button attachment. Use strong jewelry glue or epoxy for a secure connection between the finished charm and its button backing. Avoid hot glue—it’s not strong enough for long wear. Let the charm rest overnight before use. Align button placement centrally to avoid tilting and ensure a balanced fit on your Crocs.
Recommended adhesives:
E6000 Jewelry Glue
UV Resin (for flat-back charms)
Gorilla Clear Grip
The resin drying process depends on whether you're using epoxy resin or UV resin. Epoxy takes 24–72 hours to fully cure, while UV resin can harden in minutes under proper light. Ventilation and temperature affect curing time, so keep resin charms in a dust-free, dry space. Touch-testing too early risks fingerprints and deformation. Want crystal-clear results? Patience is non-negotiable!
Stacking designs? That’s next-level charm making! Use layering techniques to combine charm components like resin pieces, embellishments, or mini-clay art. Apply glue sparingly between layers and allow each layer to cure before stacking the next. A good design considers both visual complexity and structural integrity. Use jewelry findings to connect dangling pieces or build depth.
Plan your base charm layout
Stack or embed layers in sequence
Seal or secure with glue/resin
Let each layer cure separately
Look—we’ve all messed up a charm or two. Here's what to skip:
Overbaking polymer clay = burnt & brittle
Forgetting ventilation = resin headaches (literally)
Rushing resin = fingerprints galore
Skipping glue test = weak button hold
Poor button placement = wobbly wear
✨ Pro Tip: Do a small test piece when trying a new technique. Saves your material cost, time, and sanity.
Keeping your charm supplies in check makes crafting smoother. Use labelled containers or drawer organizers to separate tools, clays, and findings. Avoid humid areas—dust and moisture can ruin materials like resin or clay.
| Storage Item | Function | Lifespan Boost |
|---|---|---|
| Airtight containers | Protects from dust/humidity | ✅✅✅ |
| Tool caddies | Easy access and sorting | ✅✅ |
| Labeling systems | Inventory management | ✅✅✅✅ |
Design your crafting space with accessibility and durability in mind. You’ll thank yourself later.
“Absolutely,” says Amanda Keller, creative director at Loop Custom Studio, a Toronto-based boutique specializing in custom Jibbitz for corporate clients. “We have produced everything from branded charms with company logos to limited-edition event merchandise for music festivals and school reunions. The demand for branded charms as promotional items is exploding.”

☑️ Real-world use cases include:
Tech firms designing charms with their app icons
Charities launching fundraising sets
Wedding planners offering guest giveaways
Startups using charms for launch swag
“We once did a bulk order of 3,000 branded Jibbitz for a fintech launch,” Amanda explains. “They were fully licensed and matched the company’s trademark colours and mascot exactly.”
Expert tip: According to Jibbitz manufacturing consultant Mark Ellis, any charm made using a registered trademark must undergo copyright or licensing approval before production. “Protecting intellectual property is non-negotiable,” he notes. “No brand wants a lawsuit over a shoe charm.”
Awards & credibility: Loop Custom Studio’s charm kits have been featured in The Globe and Mail’s top Canadian gift list and hold a verified small business certification with Craft Canada.
“Clients care about both style and legitimacy,” Amanda adds. “A custom charm is more than cute—it tells a story and represents a brand’s voice, even in a 1-inch piece of plastic.”
👉 Thinking of ordering? Always ask:
Are the designs licensed or royalty-free?
Is the supplier verified for bulk orders?
Can they replicate your brand identity accurately?
The answer is yes—you can make branded or event Jibbitz. Just make sure you do it right.
Finishing touches make your DIY Croc charms pop and last. This cluster dives into the best paints and sealants to keep your designs both bold and durable.
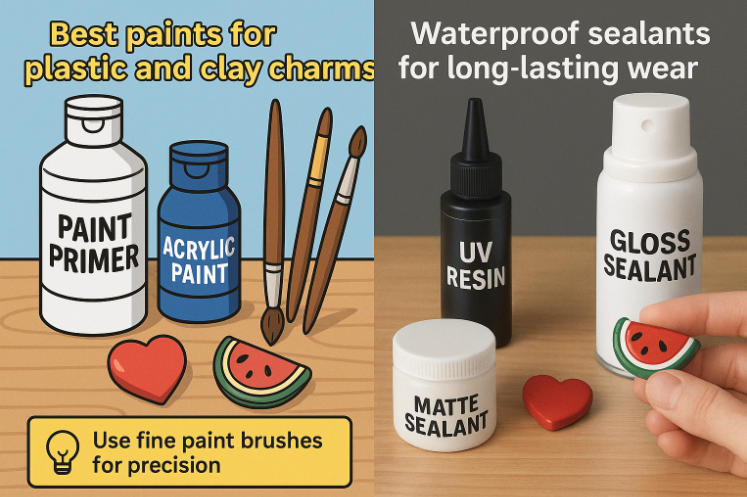
Choosing the right paint means your Croc charms won’t crack, fade, or peel. Here's what to know:
Acrylic paint is your all-rounder — fast-drying, vibrant, and budget-friendly. Works well on polymer clay, air-dry clay, and resin charms.
Enamel paint is ideal for a super smooth, durable coat — especially good for miniature painting and detailed work.
Use a paint primer on slick plastic surfaces for better grip.
Pair with a clear coat (matte or gloss finish) for professional results.
💡 Tip: Use fine paint brushes for precision; avoid thick layering to prevent cracking.
Look, if you're gonna wear those charms rain or shine — they need armor. Here's what keeps them safe:
Matte sealant = subtle, soft finish. Keeps things low-key but locked in.
Gloss sealant = shiny and showy. Perfect for those “look at me” moments.
UV resin or epoxy resin? Gold standard. These form a rock-hard, glassy protective layer.
Spray-on varnish is fast but may require multiple coats.
Curing time is key! Some resins need UV light, others just need patience.
“A good top coat is like a helmet for your art,” says Grace Lin, a polymer clay miniature artist on Etsy.
Sealant Comparison Table
| Sealant Type | Finish | Curing Method |
|---|---|---|
| UV Resin | Glossy | UV Light |
| Matte Varnish | Matte | Air Dry |
| Epoxy Resin | Glass-like | 24–48 hrs Air |
Looking for inspiration? This cluster brings the hottest DIY Croc charm trends—from kid-favorite characters to minimalist styles and glowing designs, perfect for making your Crocs totally one-of-a-kind.
Disney characters, Marvel superheroes, and classic cartoon themes never go out of style. These charms light up a kid’s day—think Spider-Man swinging from a Croc or Elsa twinkling on tiny toes.
Whether you’re crafting for a birthday or just to jazz up everyday school shoes, licensed characters offer excitement and personalization. Don’t forget fantasy creatures like unicorns and dragons—they're magic on a shoe.
Simple doesn’t mean boring.
Geometric patterns
Neutral colors
Sleek lines
If you love Scandinavian design or contemporary decor, minimalist Croc charms offer clean design that fits effortlessly into adult living spaces. Great for subtle flair without screaming for attention.
Winter: Snowflakes, Santa, or Winter Wonderland motifs
Fall: Autumn harvest, pumpkins, and Thanksgiving turkeys
Spring: Easter bunnies and Spring blossoms
Summer: Bright citrus fruits or beach themes
These charms aren’t just decor—they’re tiny celebrations on your shoes. Perfect for rotating your style throughout the year.
Here’s the glow-up you didn’t know you needed.
Using phosphorescent materials and luminous patterns, glow-in-the-dark charms bring night sky themes, fantasy vibes, or even space exploration to your Crocs. Kids love the UV-reactive ones—turn off the lights, and BAM! They light up like magic.
These are especially cool for nighttime events or Halloween-themed Crocs.
“The Y2K look is coming back hard—think pixel art, smiley faces, and emoji-style icons,” says trend curator Janice Low of CrocCulture Magazine.
Mix vibrant colors, nostalgic designs, and vintage tech styles for a throwback vibe. Add emoji patterns for a playful, expressive touch that screams early 2000s internet culture.
| Design Theme | Popular Element | Nostalgia Rating (1–10) |
|---|---|---|
| Y2K Aesthetic | Pixel Hearts | 9.2 |
| Retro 90s | Tamagotchi Shapes | 8.7 |
| Emoji Patterns | Smiley Faces | 7.9 |
So, you’ve seen how easy it is to whip up your own Croc charms — a little clay here, a splash of paint there, and suddenly, your shoes are telling your story. No need for fancy tools or a studio setup; just a bit of creativity and a steady hand.
As crafting expert Megan Weller puts it, “It’s not about being perfect — it’s about making it yours.” That’s the whole charm, literally.
Don’t overthink it. Grab your supplies, trust your gut, and start small. Your next pair of Crocs could be the most personal thing you own.
It depends on your goal. For durability and a polished look, metal (like zinc alloy or stainless steel) is hard to beat. Acrylic is the fan favourite for artists—lightweight, vibrant, and wallet-friendly. If you're going eco-friendly, wood or cork options are worth a look.
Most acrylic keychains are around 3mm thick, which is sturdy enough to feel high-quality but not too bulky. Some shops offer thinner (2mm) for cost savings or thicker (5mm) for premium designs.
Technically, no—and it’s not worth the risk. Using images of popular characters, logos, or memes without permission can get your shop flagged or even legally challenged. Instead, try:
Creating fan-inspired original art
Licensing artwork through stock or artist partnerships
Joining affiliate programs if you want to sell branded items legally
It varies based on materials, order size, and design complexity. Here's a rough range:
Acrylic keychains (bulk): $0.50–$1.50 each
Metal keychains: $1.50–$3.00+
DIY kits at home: around $2–$5 per keychain
Design software/tools: Free (like Canva) to $20+/mo (like Adobe Illustrator)
Yes, most do. Platforms like Vograce or Alibaba often set MOQs around 10 to 50 units, depending on the material and style. Some Etsy-based suppliers or print-on-demand services may let you order just one or two for a higher price.
Always check with your supplier, but in general:
.AI or .SVG for vector artwork (best choice)
.PNG with transparent background (300dpi or higher)
Avoid .JPG unless you’re sending photo-based artwork
Keep all text outlined to avoid font issues
Definitely! Many people start with simple tools at home or use online printing services. Here's how you can get going on a budget:
Use free design tools like Canva or Photopea
Buy blank keychains and apply your art with stickers, resin, or shrink plastic
Outsource printing to platforms like StickerMule, Vograce, or local print shops
Start small—just make a few and test the waters
Classic rectangle and circle shapes are still common, but custom die-cut designs are trending. People love shapes that follow the contour of the artwork (like a cartoon head or logo). Unique shapes make your keychain feel less mass-produced and more you.
Last updated on 2025-08-23 17:20
